- Using the Microsoft Package and Deployment tool is very easy, even more easier than creating the project itself, making an installation file of the (exe) is pretty easy, considering using 3rd parties in our project is goin to make the job more interesting and more general for further use of this article in the future.
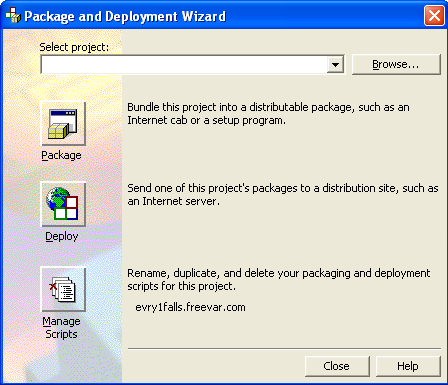
- In the previous part#7 we've took a look at the Package and Deployment Wizard tool (PDW). In our project we will use this tool to create a distribute-able file to enable use to use our application (Install) on other computers.
- First, open the PDW from start menu :
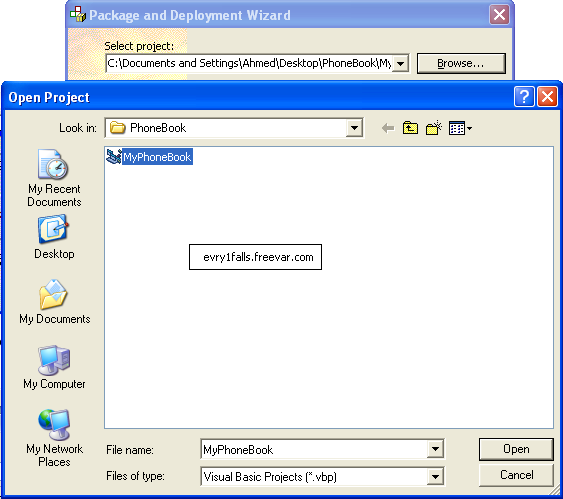
- We will browse to our *.vbp file :
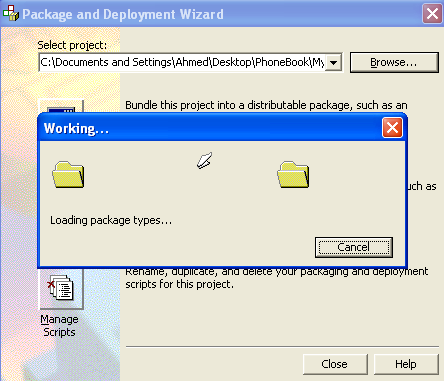
- Then, we click on Package :
Then
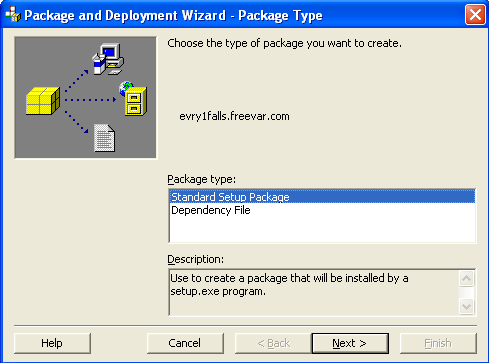
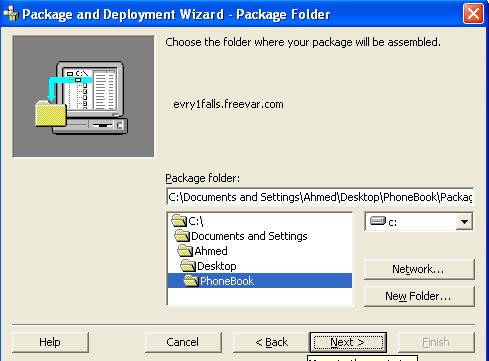
- We get these two options, we will choose the first one (Standard Setup Package) to create an installation Setup.exe program, click Next to choose your package folder, is where your package will be located, I choosed the main application folder :
- After choosing the target package folder we click on Next, a message box will appear asking whether you want to create a folder for the package or not, just click (Yes), and then another chat box (Missing Files) may appear :
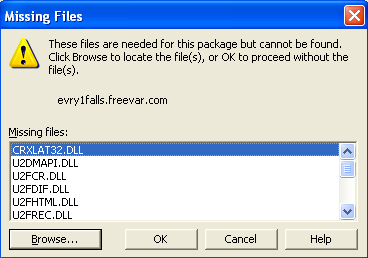
This chat-box appeared because the PDW is not able to locate the files we used (from 3rd parties) in the main folder. To solve this problem : Just simply click (Browse) and locate them by using computer search for these files (* They all will be found in the [ \Tools\Reports\] folder .
- The missing files are required to correctly pack the application, without these files, the application won't be correctly installed on another computer, so we need to locate them on our computer and include a copy of them in the main folder and in the package folder, this is so important. Just open the windows search tool and look for these DLL files and copy them into your main folder then locate them from this this Chat-Box.
- For example :
CRXLAT32.DLL is located here :
C:\Program Files\Microsoft Visual Studio\COMMON\Tools\Reports\
U2DMAPI.DLL is located here :
C:\Program Files\Microsoft Visual Studio\COMMON\Tools\Reports\
All of them is the 3rd party (Crystal Report 4.6) DLL files, you will find them all in the same directory above. After successfully locating these files and copying them in your main application folder, you will see this screen [PDW - Included Files], just click Next :
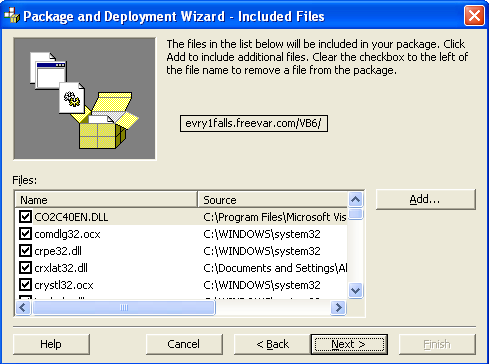
PDW - Included File ..... click < Add ... > to include the MS-Access 2003 Database file (MyBook.Mdb), the Jpg photo (Phone.Jpg) and the Report file (Friends.rpt) and the (Photo) files used in the project.
*Note : not including these files will cause a Run-Time error and malefunction in your application in the targeted computer
- After adding our 3rd parties (Independent Files) to the Included Files box, click Next to pick a CAB option :
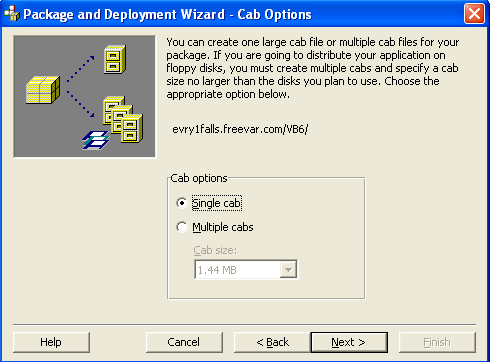
- Cab Options - we will choose (Single Cab) because we will use our installation file on another computer directly without any Floppy disk. If using Floppy Disk then you will have to devide it to parts in order to suit the required space on the Floppy. Choose Single Cab and click Next to move to the Installation Title screen :
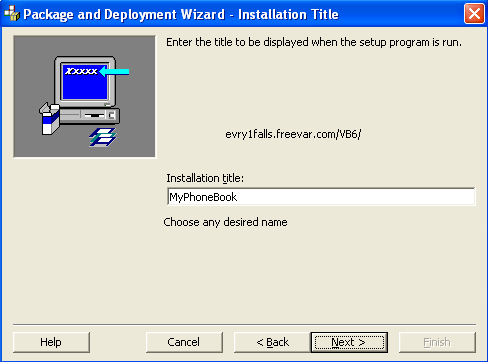
Just pick any desired name, I choosed (MyPhoneBook) as an Installation title.
- Click next on the Installation Title screen to move to the Start Menu Items, where your application will take a place among your windows applications :
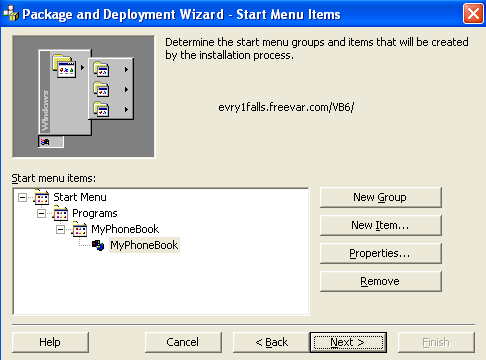
Just click on Next ..
- You will be then directed to the Install Location where you application will take off from the client/Targeted computer, which is by default is (Program Files) directory :
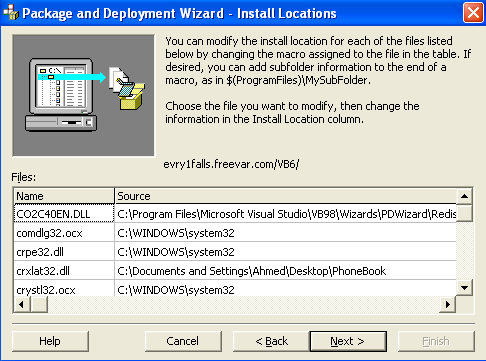
Click Next ...
- You will move to the Shared Files screen where you will need to choose which files are shared by the application and the computer and which are not, you will need to mark all the files included in the box :
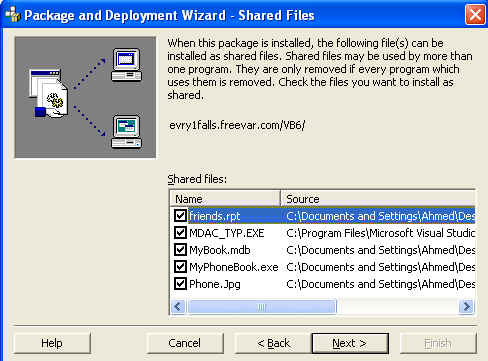
(Phone1.Jpg) is included in the box ............. Move the mouse cursor on each name of these files to know what it does in your installation proccess and what it handles to get to know the purpose of including it in the Package. Click Next ....
- Now you have finished, this screen is to choose a name for your Installation file ....
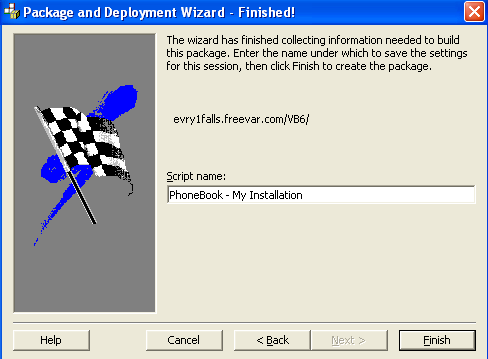
Congratulations - just pick a name and click on finish ...
- You should be seeing the Package Report screen, if you read what is inside the report you will find some instructions, but we already took care of it while packing.
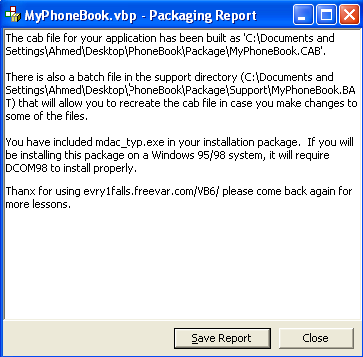
- Just close it and close the PDW. Open your main folder (\PhoneBook\) where we saved out Package folder ....
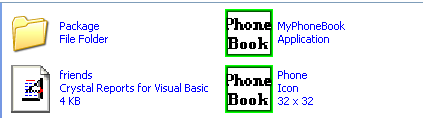
- Open the < Package > folder and see the files, you will notice that all the files used and picked are located there, but missing the < Icon > File of our application. In order to modify your package and include another item :
1) Open the PDW from start menu again
2) Browse to your *.vbp file if not already there
3) Repeat the obove steps until reaching the step of choosing the Included Files, click Yes for all the message boxs appear to you asking for overwritting .
4) Click < Add .. > and choose the < Icon > file .
5) Keep clicking Next until you reach the Shared Files screen, mark the Icon File .
6) Click Next until reaching the PDW - Finished screen
7) Click Finish to overwrite your existing Package folder successfully. - Re-open your package file folder and notice the Icon file < Phone.Ico > along with all the files we picked up in the first and second PDW screens.
- Now you are ready to test your Installation package, we will test the installation package in the last part of this tutorial part#9
 Custom Search
